一、配置服务器
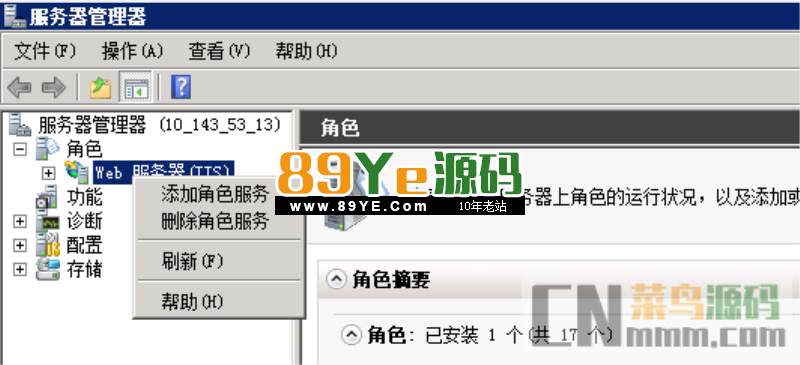
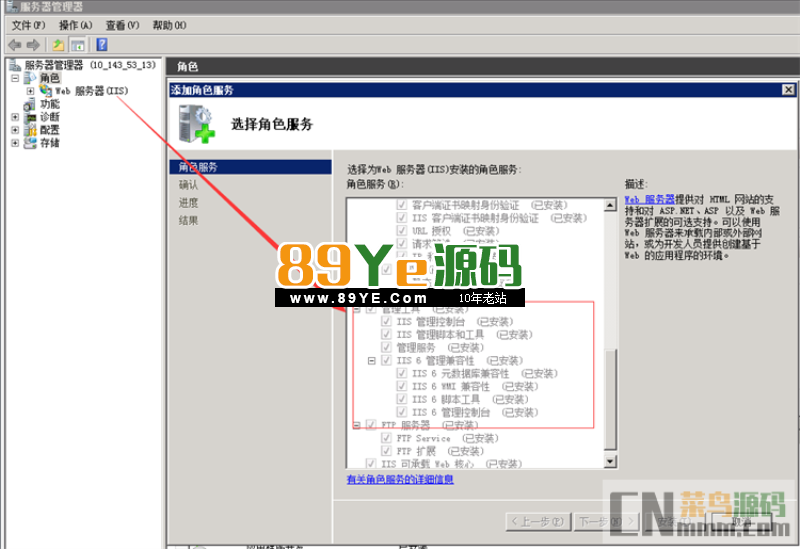
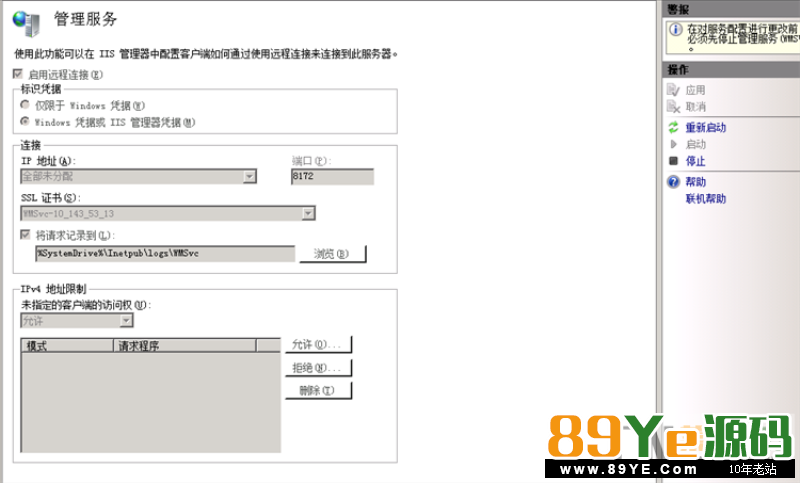
1.安装管理服务
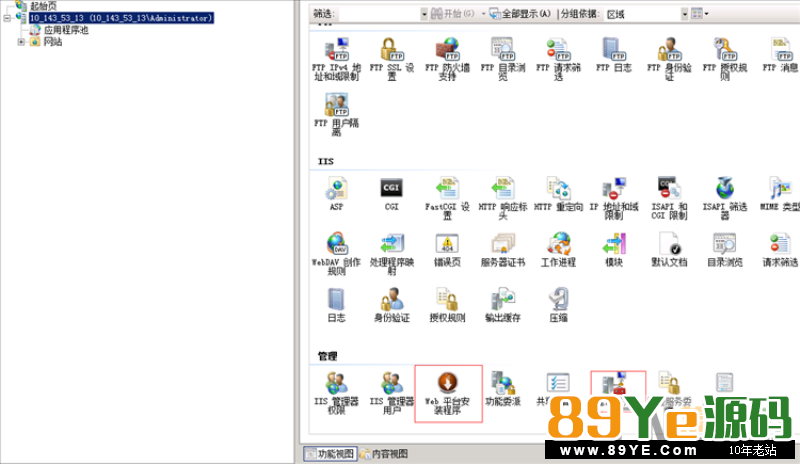
2.点击管理服务进行配置
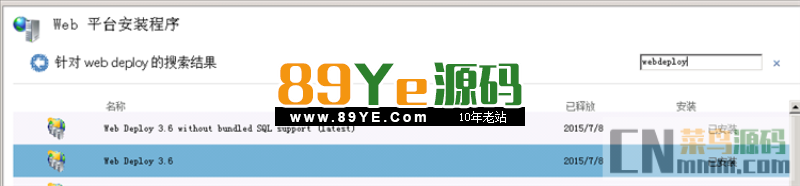
3.安装WebDeploy
3.1通过离线安装包方式安装:
离线包没有WebDeploy3.6版本的,不过影响不大
3.2通过Web平台安装程序安装:
我当时服务器没有Web平台安装程序,可以通过链接下载
三.配置WebDeploy的专用账户
1一般情况下,WebDeploy 安装好的时候,会创建两个本地账户

很可惜,我这里是二般情况
我重新创建了WDeployAdmin 和 WDeployConfigWriter 这两个账户
具体操作参考:
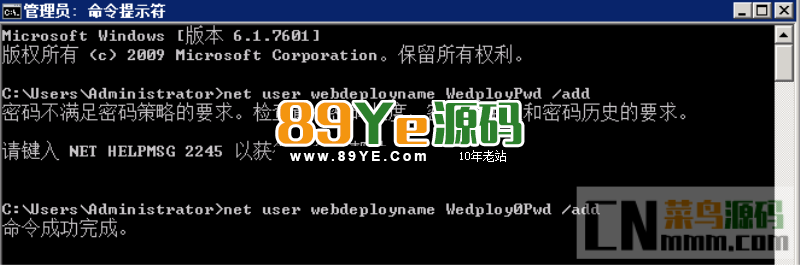
接下来添加WebDeploy专用账户,后面发布要用
net user 用户名 密码 /add。这样就能创建一个非管理员的普通账户。
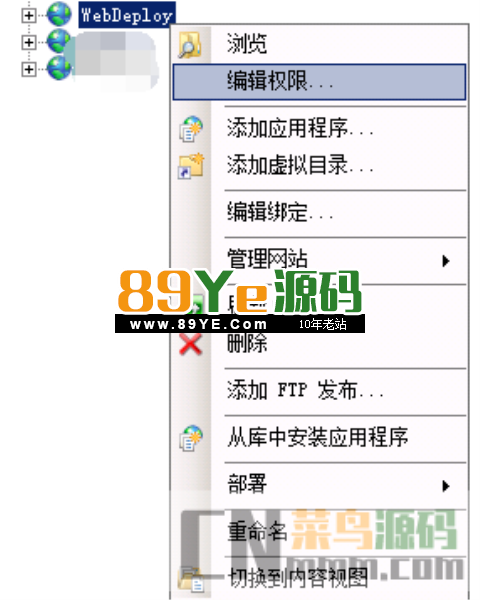
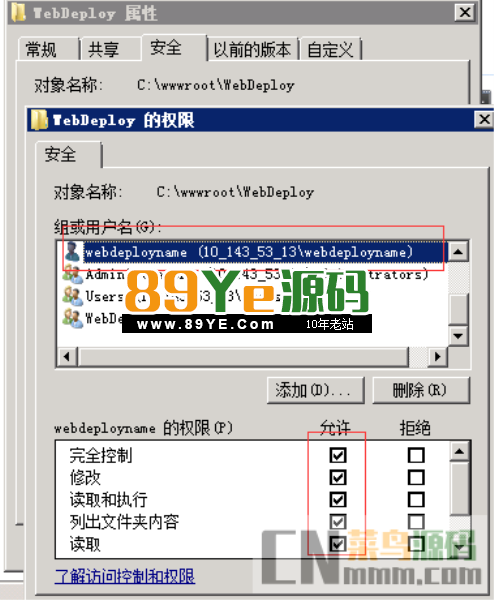
2给刚刚配置的账户添加Web站点权限
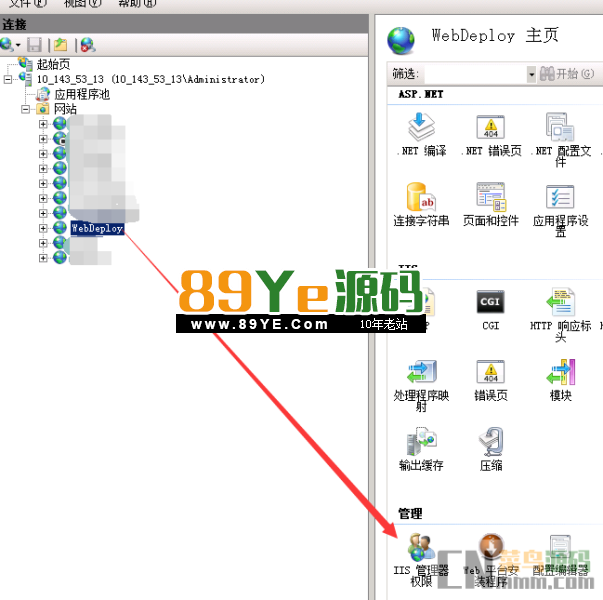
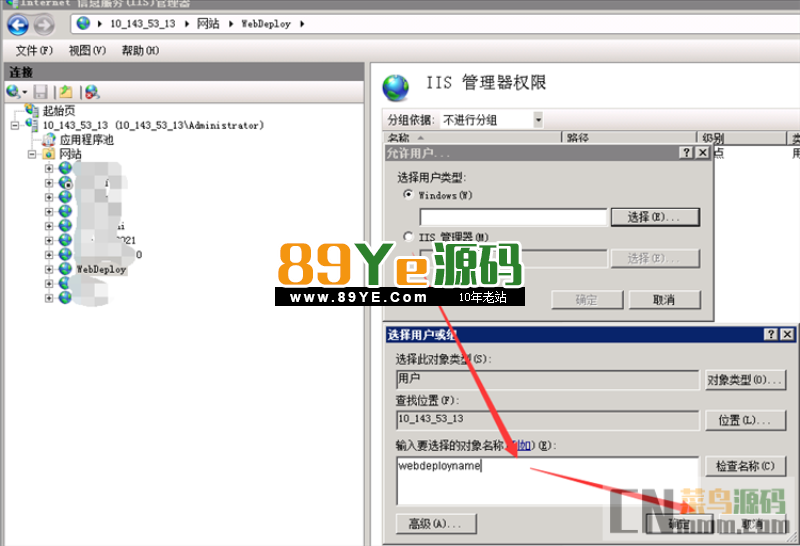
给WebDeploy专用账户添加操作权限
三、配置VS发布文件
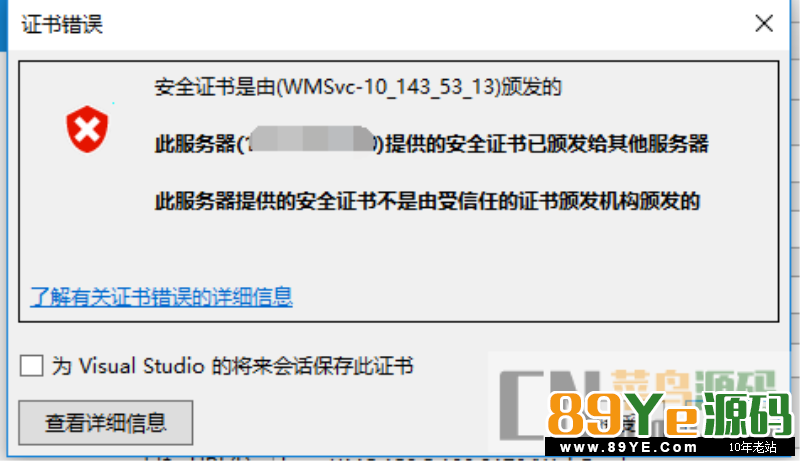
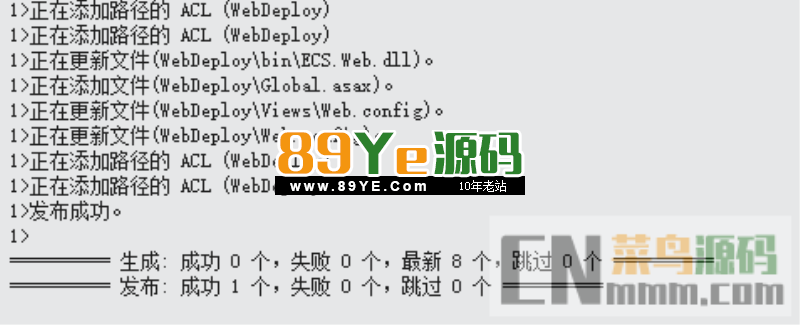
VS 点击发布采用WebDeploy方式
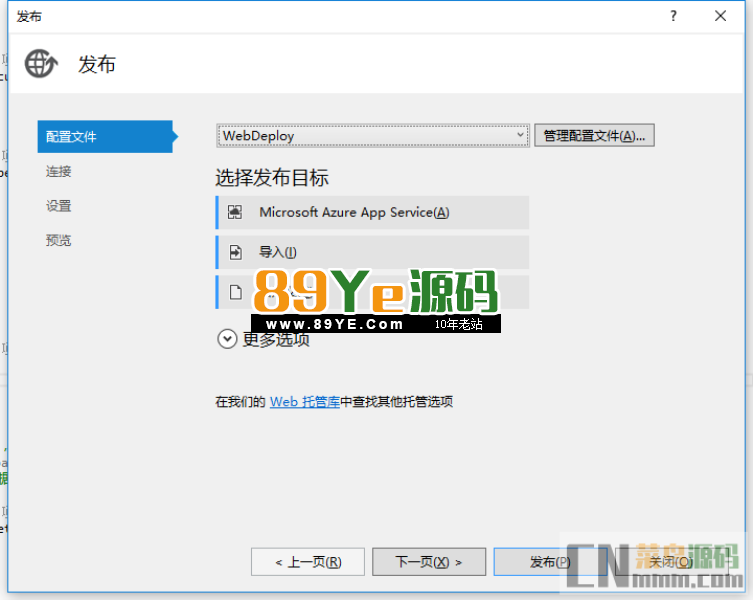
发布成功
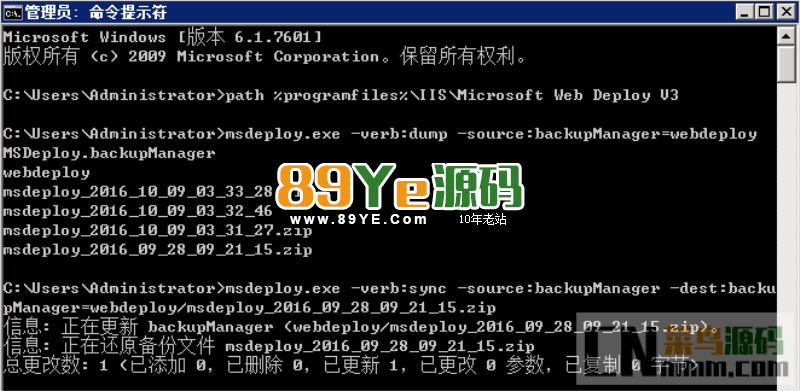
四、配置WebDeploy
进入WebDeploly
path %programfiles%\IIS\Microsoft Web Deploy V3
查看备份
msdeploy.exe -verb:dump -source:backupManager=网站名
恢复备份
msdeploy.exe -verb:sync -source:backupManager -dest:backupManager=webdeploy/备份的名字